
Last updated November 2, 2026
 Wrought iron
 Wood & steel frame
 Farm & ranch
 Sliding driveway gates
 LiftMaster operators
Free on-site gate assessment - hinges, posts, and your LiftMaster or Nice gate operator checked before anything is quoted
The assessment is free and the quote is the invoice.
Get your free estimateGate Repair Troubleshooting: Common Problems and How to Fix Them
Here’s a counterintuitive fact we deal with regularly at Gate Repair Union City home: the most expensive gate repair mistake is rarely ignoring a problem. It’s replacing a perfectly good $400 control board because a $12 capacitor on the motor failed. The symptoms look nearly identical. This guide is built differently from most troubleshooting articles you’ll find. Instead of listing symptoms in isolation, we’ll walk through root-cause diagnosis: power and electrical faults, mechanical wear, and operator or programming failures. You’ll learn which symptom clusters point to the same underlying issue, how to test your system safely without specialty tools, and which repairs you can handle versus which ones need a trained professional. If you manage a gate in Union City, the specific climate and soil conditions here also play a role, and we’ll cover that too.
Quick Answer
Gate repair troubleshooting starts with identifying the failure category: electrical (no power, intermittent operation, dead remote), mechanical (grinding, sagging, stuck rollers), or operator/programming (gate reverses mid-cycle, loses its limits, opens on its own). In Union City, where moisture and marine air accelerate corrosion on terminals and hinges, loose or oxidized connections are the single most common root cause we find across all three categories. Test the simple, cheap failure points first – power supply, battery, photo-eye alignment, and corroded wire nuts – before replacing motors, boards, or remotes.
Styles & brands we work with
- Wrought iron
- Wood & steel frame
- Farm & ranch
- Sliding driveway gates
- LiftMaster operators
Table of Contents
- Power and Electrical Faults: The First Branch
- Mechanical Wear: Hinges, Rollers, and Track Problems
- Operator and Programming Failures
- The Five Symptom Clusters That Get Misdiagnosed
- How to Safely Test Gate Operator Output Voltage
- Error Codes: Self-Resetting vs. Hard Reset vs. Hardware Failure
- Parts to Keep on Hand vs. Parts a Technician Should Install
Power and Electrical Faults: The First Branch
Before you lubricate a hinge or replace a control board, verify the gate has power. Sounds obvious, but in our experience across Union City neighborhoods, roughly four out of ten “dead gate” calls trace back to a tripped GFCI outlet, a switched-off breaker, or a corroded wire connection – not a failed motor. Electric gates run on either 110V AC household current or low-voltage DC from a transformer and battery backup. The first test takes thirty seconds: locate the outlet or junction box feeding your operator and confirm it’s receiving power. Plug a lamp or voltage tester into the outlet. If the outlet is dead, check your breaker panel for a tripped circuit. In older Union City homes with original electrical panels, gate circuits are frequently added onto existing garage or exterior circuits, and a tripped GFCI on that circuit kills the gate along with it.
If you have power at the outlet but the gate won’t respond, check the transformer. Most residential operators use a 24V transformer. A multimeter set to AC voltage across the transformer’s secondary terminals should read within 2 volts of its rated output. No reading means the transformer failed – a $30 part, not a $300 motor. On battery-backed systems, which are common in Union City because power interruptions during winter storms are frequent, a dead battery can mimic a dead board. If your system has a battery backup and the gate worked recently, disconnect the battery and test operator function on line power alone. A battery that’s more than three years old should be considered suspect regardless of its voltage reading.
Corrosion is the quiet killer in Union City’s marine-influenced climate. Terminals, wire nuts, and splices exposed to fog and salt air develop a green or white crust that increases resistance. This manifests as a gate that works sometimes, or a motor that hums but doesn’t move, or a system that fails only in damp weather. Open every accessible junction box and inspect for discoloration. Tighten any loose wire nuts and clean corroded terminals with a wire brush or fine sandpaper. This single step resolves more intermittent gate failures than any component replacement.
Mechanical Wear: Hinges, Rollers, and Track Problems
If the gate has power and the operator runs but the gate itself struggles, binds, or grinds, you’re now in mechanical territory. Mechanical failures build gradually. A gate that scrapes the ground today was sagging for six months before you noticed. Catching these Gate Repair Warning Signs: A Union City Homeowner’s Reference Guide early prevents a cascade of damage to the motor, bracket, and even the gate frame.
Start with the hinges. On a swing gate, a sagging leaf is almost always a hinge problem – either the hinge screws have loosened from the post, the hinge pin has worn, or the post itself is shifting. In Union City’s clay-heavy soil, posts set in concrete can shift seasonally as the ground expands and contracts with winter rain and summer drought. A gate that dragged on the pavement in January and works fine in August may not have fixed itself; the soil simply moved. Check top and bottom hinge screws for tightness, and inspect the hinge pins for play. If you can lift the gate leaf and feel vertical movement, the hinge is worn and needs replacement.
For sliding gates, the rollers and track carry all the work. Worn rollers cause exactly the symptom you’d expect: grinding, jerky movement, and increased strain on the operator. Inspect rollers for flat spots, wobble, and missing bearings. Clean the track of debris – leaves, mud, and small gravel accumulate fast in Union City’s wet winters. A track that’s visibly worn or rusted at the wheel contact point needs attention. But here’s a tip most guides miss: before replacing anything, check the gate’s guide wheels or rollers at the top and bottom. A single seized guide wheel forces the motor to work against the gate’s full weight, and no amount of operator adjustment fixes that. If your gate moves freely by hand with the operator disengaged, the problem is not mechanical. If it doesn’t, it is. That’s the dividing line, and it’s the most useful test in gate troubleshooting.
Operator and Programming Failures
The third branch is the operator itself: the motor, control board, limits, remote receiver, and safety inputs. Programming failures are distinct from electrical or mechanical issues because the operator has power and the gate moves freely, but behavior is wrong. The gate opens but won’t close. It closes then immediately reverses. It works from the wall button but not the remote. It ignores the keypad. It opens at 3 a.m. on its own.
Limit switch failures are the most common operator issue we see on LiftMaster systems in particular. The limits tell the motor when the gate has reached full open or full close. If the gate slams at the end of travel, stops short, or reverses mid-cycle, the limits have likely drifted or failed. Many modern operators store limits electronically; recalibration usually requires entering the programming mode. The procedure varies by brand, which is where it pays to have a technician who works on your specific operator. A LiftMaster recalibration is not a Linear recalibration, and guessing at the procedure can make the problem worse.
Remote and receiver issues are the second most common programming failure. If the gate ignores the remote but works from the wall button, the receiver has lost its code or the antenna is damaged. Interference is a real factor in Union City: wireless signals from doorbells, garage openers, and even nearby commercial equipment can crowd the 315MHz or 390MHz bands that most gate remotes use. Before replacing a remote, check the receiver’s learn button and re-pair the remote, then check the antenna wire on the operator. A broken or missing antenna reduces range to a few feet. If the remote works only when you’re standing next to the operator, that’s your clue.
Safety sensor faults are the third category. Photo eyes that are dirty, misaligned, or obstructed cause the gate to reverse or refuse to close. This is a safety behavior, not a malfunction – the system is working exactly as designed. Clean both lenses with a soft cloth, verify the sensors are pointed at each other, and clear any vegetation that has grown into the light path. In Union City, fast-growing ivy and bougainvillea along property lines are frequent culprits.
The Five Symptom Clusters That Get Misdiagnosed
This is where the root-cause approach saves real money. The following symptom clusters are responsible for the majority of unnecessary part replacements we encounter. Each cluster shares a common root cause despite appearing different on the surface.
Cluster 1: Gate Reverses Mid-Cycle
Symptoms: gate opens partway and reverses, gate closes halfway and reopens, gate jerks and reverses direction without reaching its limit. The knee-jerk diagnosis is a bad control board. In most cases the actual cause is one of three things: a safety sensor obstruction, a closing-force setting that’s too sensitive, or a mechanical bind that increases resistance enough to trigger the operator’s obstacle detection. A gate with worn rollers or a dry hinge creates drag. The operator interprets that drag as an obstruction and reverses. Fix the mechanical resistance first, then adjust the force setting, then – and only then – suspect the board. We’ve resolved this symptom on Union City gates with nothing more than hinge lubrication and a force adjustment.
Cluster 2: Gate Won’t Hold Position
Symptoms: gate drifts after stopping, gate sags when closed, gate opens a few inches on its own. This cluster points to mechanical wear or a failed brake, not a programming glitch. On swing gates, a worn hinge or shifting post lets the leaf settle under its own weight. On sliding gates, a worn chain or belt with excessive slack does the same. On hydraulic operators, a leaking check valve can allow drift. Test by disengaging the operator: if the gate holds position manually, the mechanical structure is sound and the brake or hydraulic system is the problem. If the gate drifts with the operator disengaged, the mechanical components need attention.
Cluster 3: Remote Works Intermittently
Symptoms: remote works from one side of the driveway, works only when close, works after pressing three times. The common misdiagnosis is a failing remote. The more frequent root cause is the receiver antenna or radio interference. Inspect the antenna wire on the operator. If it’s been chewed by rodents, kinked, or removed, replace it or reattach it. Then check the remote battery – a weak battery matches the “works when close” pattern exactly. If both are fine, the receiver may be picking up interference from a neighboring device. In Union City’s dense residential areas, a neighbor’s new smart home hub can occasionally swamp a gate receiver. Re-pairing the remote or changing the frequency channel where supported resolves it.
Cluster 4: Gate Grinds on Open
Symptoms: grinding or scraping noise when opening, noise louder in certain positions, gate shakes while moving. This cluster is nearly always mechanical. The noise points to a specific location: hinge, roller, track, or chain. Run the gate slowly and listen. A rhythmic grind that matches the gate’s position rather than the motor’s speed suggests track or roller wear. A constant grind regardless of position points to the chain, belt, or gearbox. A squeak that happens only at the start or end of travel is usually a dry hinge pin. Grease the hinges and roller bearings, inspect for wear, and replace the worn component. Ignoring this cluster transfers the load to the motor and eventually transforms a $40 bearing into a $600 motor replacement.
Cluster 5: Gate Opens Slowly in Cold Weather
Symptoms: gate operates normally in summer, slows dramatically in winter, may stall on cold mornings. This cluster is common in Union City during the colder, damp winter months. Hydraulic operators are particularly sensitive to temperature: cold thickens hydraulic fluid, increasing internal resistance and slowing operation. The fix is the correct fluid viscosity for the climate and a check of the system for moisture intrusion. For electro-mechanical operators, cold weather often exposes a failing capacitor. Capacitors age and lose capacity, and cold temperatures reduce their output. A motor that needs a capacitor to start will strain or hum without enough stored charge. This is exactly the $12 part that gets misdiagnosed as a $400 board. If your gate is slow on cold mornings, test the motor’s start capacitor before doing anything else.
How to Safely Test Gate Operator Output Voltage
Testing output voltage sounds intimidating, but with digital multimeters available for under $30, it’s a straightforward procedure that can tell you whether your problem is electrical or mechanical without calling anyone. Safety note: you’re working around live electrical components. If you’re not comfortable with a multimeter or your system includes high-voltage AC components, stop here and call a professional. Gate operators combine 110V AC with low-voltage DC in the same enclosure, and the wrong touch can be dangerous.
- Turn off the circuit breaker feeding the operator, and verify the operator is dead before opening the enclosure.
- Locate the motor terminals. On most residential operators, the motor connects to the control board via two clearly marked wires. On LiftMaster units, they’re often labeled M+ and M-.
- Set your multimeter to DC voltage if your operator runs on DC (most modern residential units), or AC voltage if the motor runs on AC. The operator’s manual or the motor label will specify.
- Restore power and trigger the gate to open using the wall button. Touch the multimeter probes to the motor terminals. A functioning output reads within 10% of the motor’s rated voltage: typically 24V DC for residential DC motors, or 120V AC for AC motors.
- Interpret the reading. If you see full voltage at the motor terminals but the motor doesn’t run, the motor or capacitor is faulty. If you see no voltage, the problem is upstream: the control board, transformer, or a safety input blocking the signal. If voltage drops significantly under load, suspect a weak capacitor or a binding gate.
This test takes ten minutes and tells you with confidence which branch of the diagnostic tree you’re on. On systems we service in Union City, we run this test before touching anything else, because it eliminates guesswork and prevents the customer from paying for parts that weren’t the problem.
Error Codes: Self-Resetting vs. Hard Reset vs. Hardware Failure
Most modern operators from LiftMaster, Linear, and DoorKing display error codes through an LED on the control board or a digital display. Understanding what these codes mean – and which ones clear themselves – saves time and money. Here’s the framework we use.
Self-resetting codes clear on their own once the triggering condition passes. These include photo-eye interruptions (the gate stops or reverses and returns to normal operation when the obstruction clears), thermal overload warnings (the operator pauses after excessive cycling and resumes when it cools down), and brief power interruptions. For these codes, fix the trigger: clean the photo eyes, give the operator a rest, check the power source. No reset procedure is needed.
Codes requiring a manual reset don’t clear until you cycle power or perform a specific reset sequence. Common examples: a LiftMaster error indicating the limit settings were lost after a power outage, a Linear code for a stuck key, or a DoorKing fault requiring the operator to be rebooted. For these, disconnect power for 30 seconds and restore it. If the code persists, consult the manual for the brand-specific reset sequence. Many Linear and DoorKing systems store fault history in memory, and clearing that history after a resolved issue is often necessary to silence the error.
Hardware-failure codes indicate a component that has physically failed and will not clear regardless of reset attempts. Examples include a LiftMaster motor driver fault that persists after reboot, a Linear code for a shorted loop detector, or a DoorKing error for a failed surge suppressor. These codes mean the part needs replacement. Here’s the key distinction: if a code clears after cycling power and stays cleared, it was likely an electrical glitch. If it returns within days, the hardware is failing and replacing it early prevents a no-open emergency at 6 a.m.
We recommend photographing the error code when it appears. Codes have a habit of being absent when the technician arrives, and a photo of the specific code narrows the diagnosis considerably. This is standard practice for us on Electric Gate Repair in Union City calls.
Parts to Keep on Hand vs. Parts a Technician Should Install
Every homeowner and property manager with an automated gate should keep a small set of spare parts on hand. But there’s a line between sensible preparation and creating a hazard or wasting money. Here’s the short list from a technician’s perspective.
Worth Keeping as Spares
- Remote batteries and a spare remote: The most common failure point on any system. A spare remote eliminates the “works from the car but not the house” scramble.
- Photo-eye set: Universal photo eyes are inexpensive and can replace most residential sensors without programming.
- Start capacitor: If your operator uses one, keep a spare. Capacitors fail predictably with age and cost little.
- Control board fuse: Identify the fuse type on your board and keep a pack. A blown fuse from a surge is common and easy to fix.
- Hinge grease and track lubricant: Proper lubricant, not WD-40. Use a white lithium grease for hinges and a silicone-based lubricant for tracks and rollers.
Leave to a Technician
- Control boards: Boards fail less often than the parts around them, and installing one often requires programming, dip-switch configuration, and matching firmware. A board installed incorrectly can damage other components.
- Motors and gearboxes: Installation requires proper alignment, torque settings, and in some cases chain tension adjustment. A misaligned motor destroys itself quickly.
- Loop detectors and safety edges: These are safety components. Installation errors can result in a gate that doesn’t reverse when it should.
- High-tension springs on cantilever or vertical pivot gates: These are genuinely dangerous. A spring under tension stores significant energy and can cause serious injury if released improperly. Call a professional.
- Overhead or track systems on commercial gates: Commercial systems involve higher weights, higher voltages, and more complex safety logic. This is not the place for trial and error.
If you’re replacing the gate entirely rather than patching it, see Gate Installation in Union City for what a proper install involves.
Common Mistakes to Avoid
- Replacing the remote when the receiver is the problem. A dead remote and a dead receiver look identical. Test the wall button; if it works, the operator is fine and the issue is in the remote or receiver. This mistake costs people a new remote plus a service call.
- Lubricating before cleaning. Spraying lubricant on a dirty track creates a grinding paste that accelerates wear. Clean the track, then lubricate. This is especially important in Union City where winter mud and spring pollen coat tracks quickly.
- Adjusting the force setting to override a mechanical bind. Increasing force to push through a binding gate is a temporary fix that damages the motor, the chain, and the gate frame. Fix the bind, then set force to the minimum needed for reliable operation.
- Ignoring a sagging gate until the motor fails. A sagging swing gate puts constant load on the operator. The time to fix hinges is when you first notice scraping, not when the motor burns out.
- Using the wrong capacitor rating as a substitute. Capacitors are not interchangeable by physical size. Match the microfarad rating and voltage rating exactly. The wrong capacitor can damage the motor or fail explosively.
- Attempting to program a different brand’s reset sequence on your operator. Procedures are brand-specific and sometimes model-specific. Using a DoorKing sequence on a Linear board can erase your limits or create dangerous operation.
- Assuming corrosion only matters in visible spots. Corrosion hides inside junction boxes, behind the control board, and under heat-shrink splices. If one connection shows corrosion, inspect every connection in the system.
See the difference
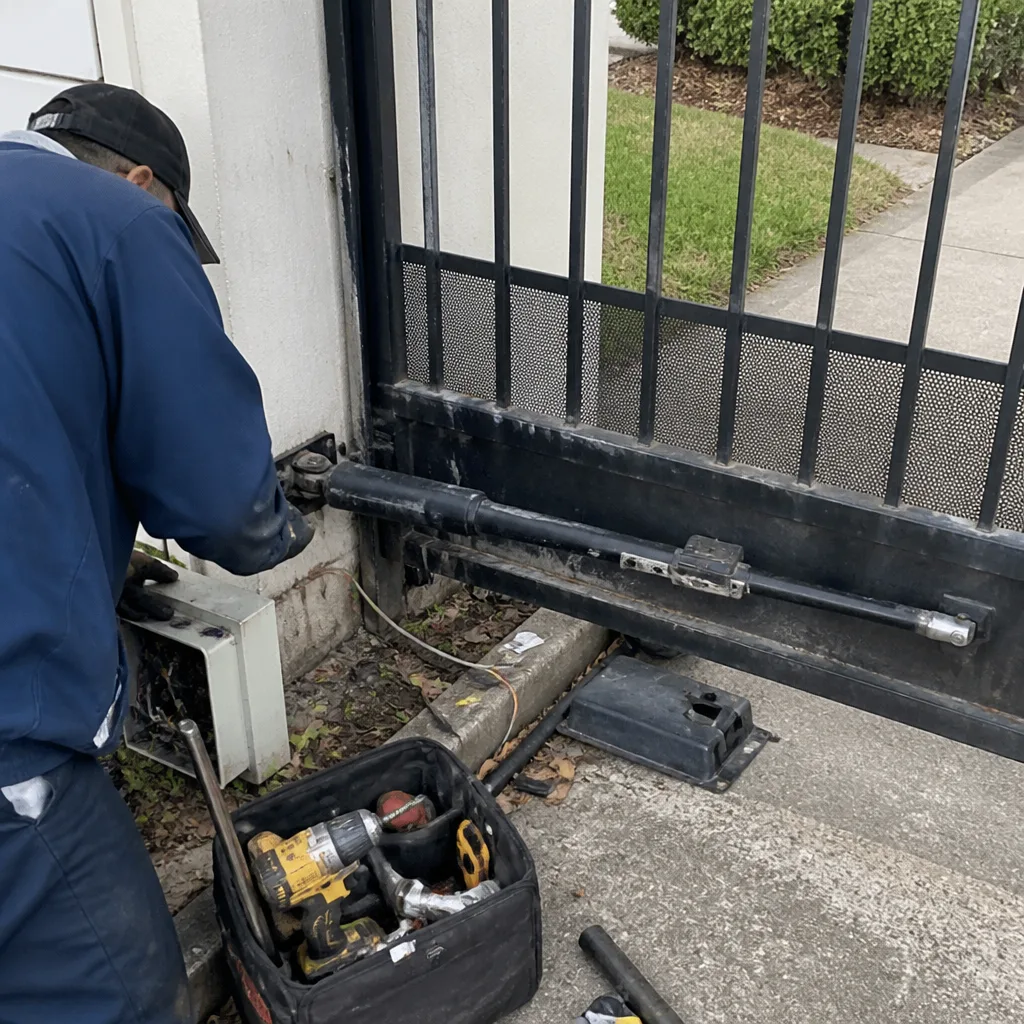 Before
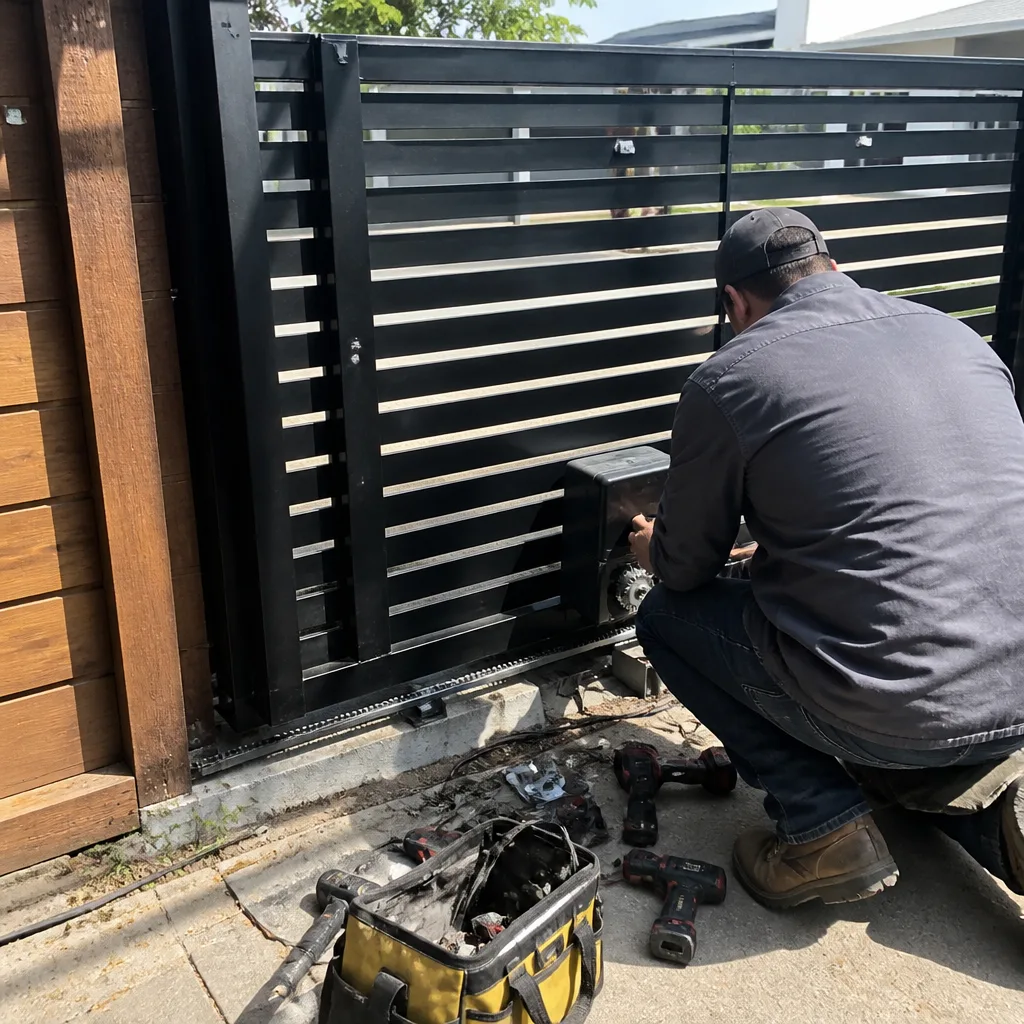 After
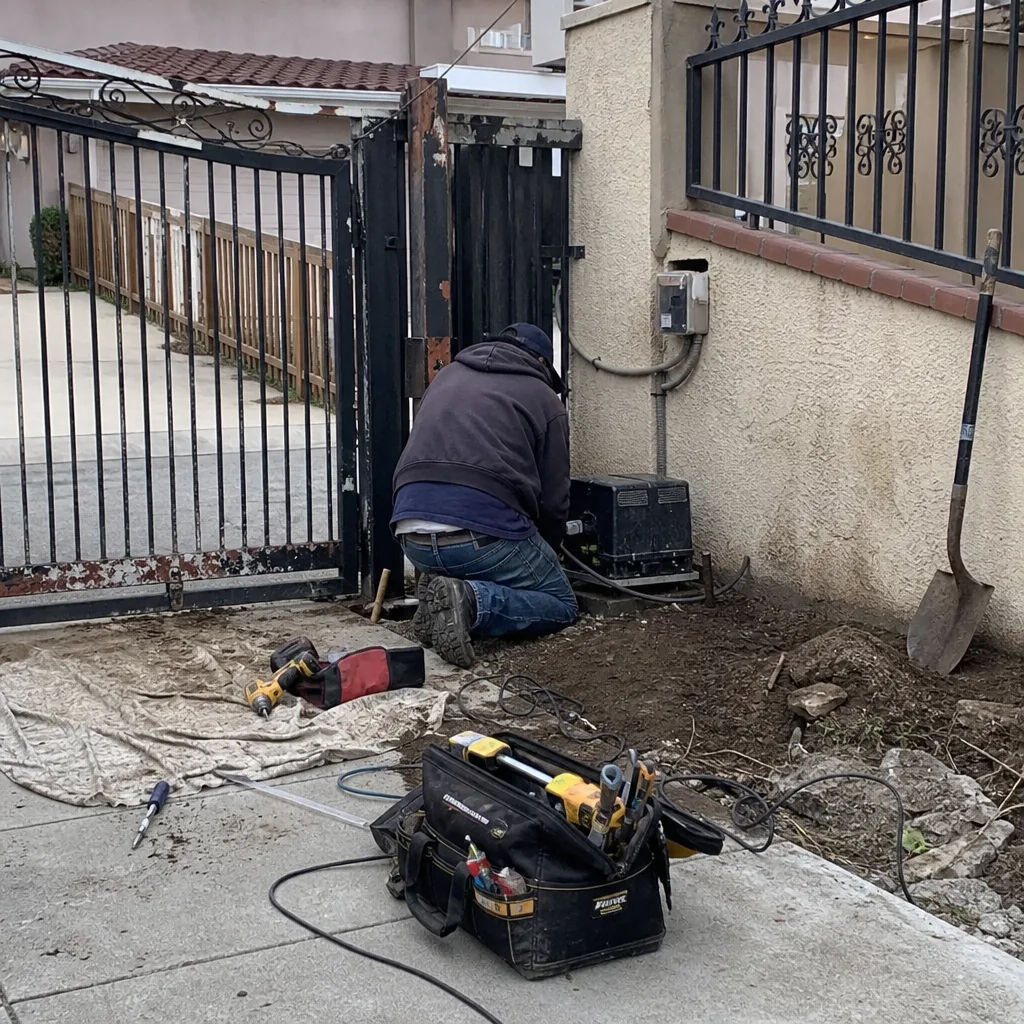 Before
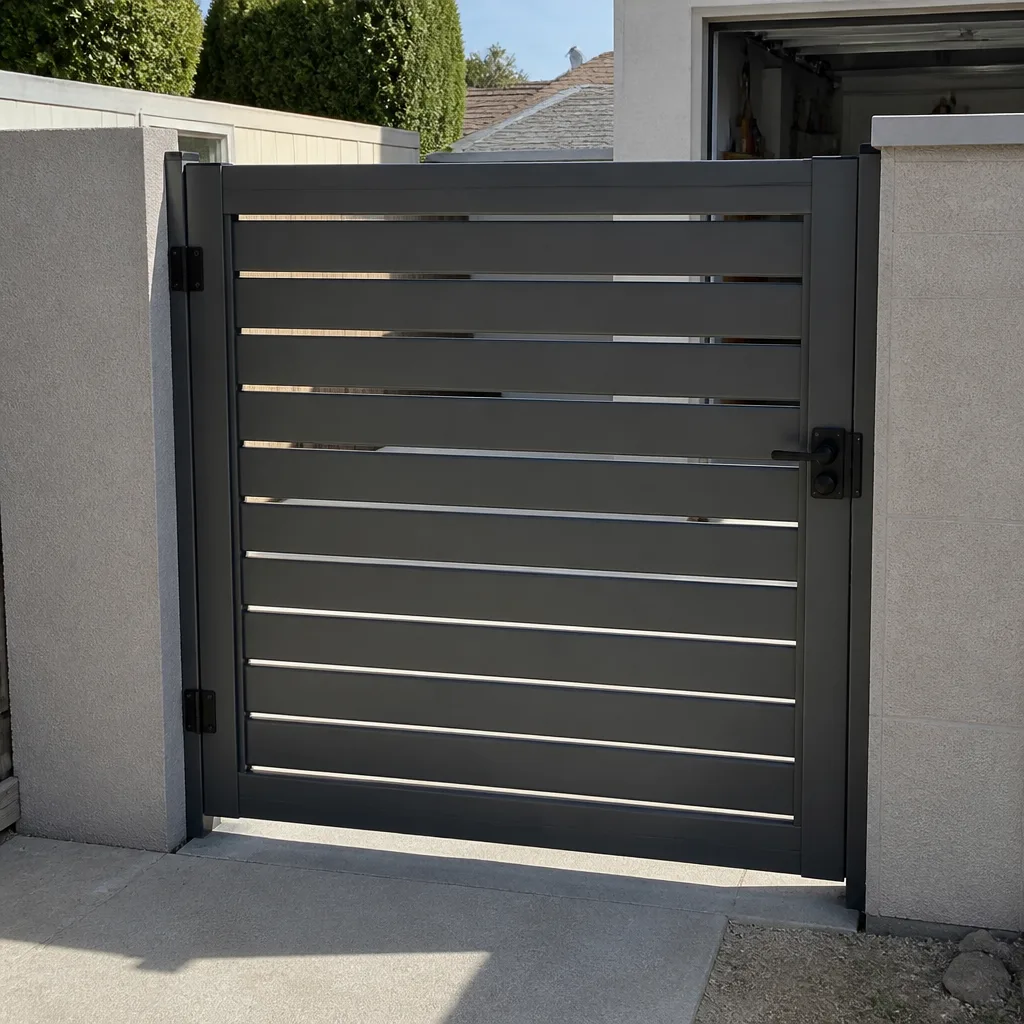 After
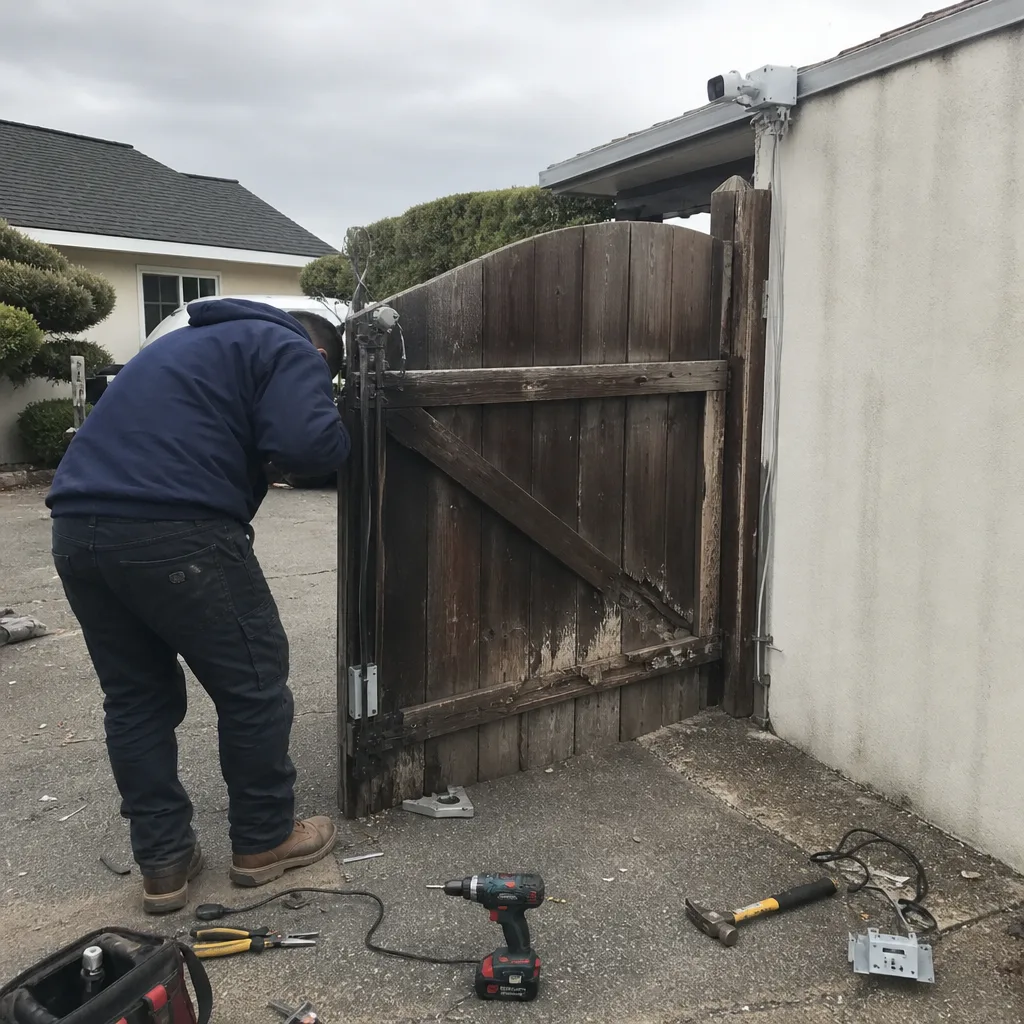 Before
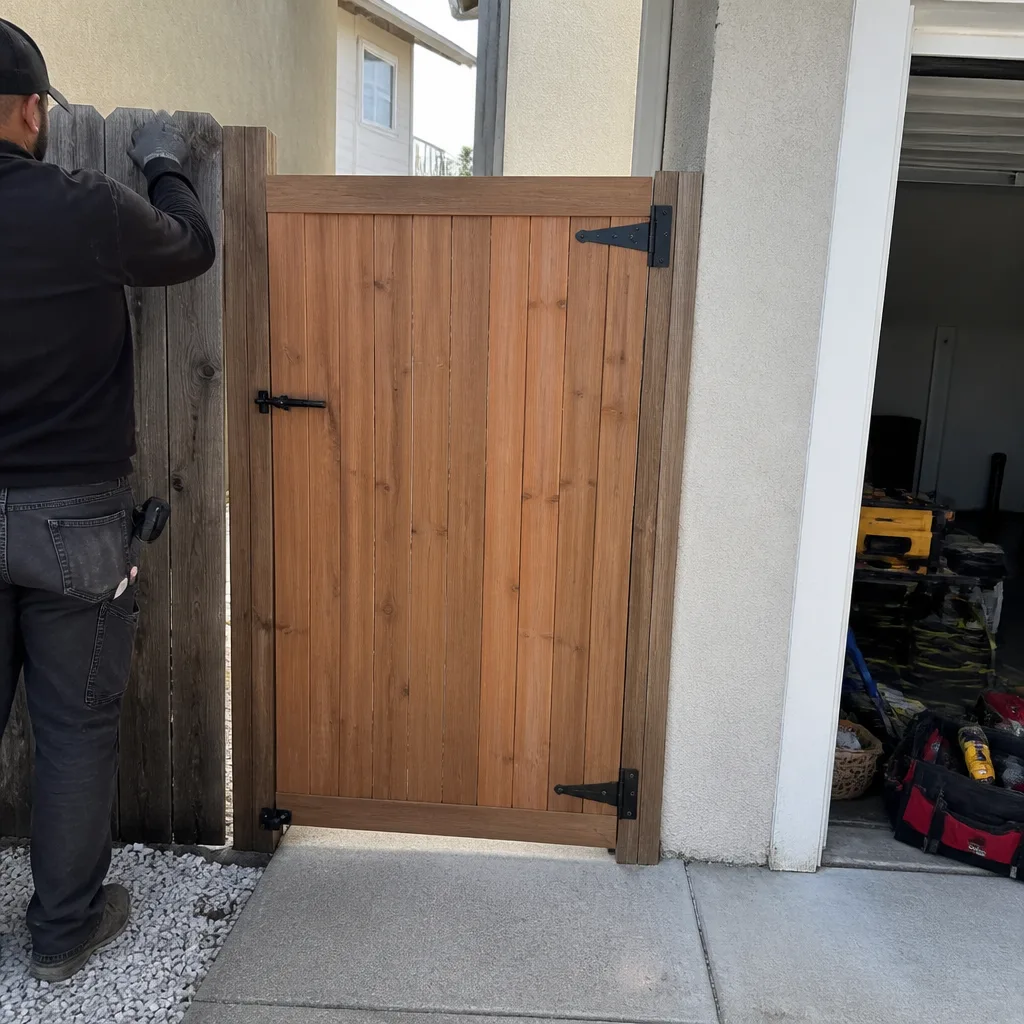 After
When to Call a Professional
Some gate problems are safe and sensible to troubleshoot yourself. Others aren’t. Call a professional when you see or hear any of these: exposed high-voltage wiring, a gate that reverses despite clear photo eyes and proper force settings, any problem involving a high-tension spring, a gate that has come off its track, or an operator that produces a burning smell. Also call if you’ve worked through the electrical, mechanical, and programming branches and the problem persists – that’s the point where experience with nine specific brands pays for itself. Gate Repair in Union City is what we do. If you’re in Union City, we offer free estimates – call (833) 593-6430 and we’ll diagnose the problem on site.
Frequently Asked Questions
Our Gate Repair services in Union City typically range from $150 for minor fixes like hinge tightening or photo-eye cleaning to $800 – $1,200 for motor or control board replacement, depending on the operator brand and the extent of the damage. We quote a fixed price before any work starts, so there are no surprises. Call (833) 593-6430 for a free estimate on your specific system.
Intermittent operation is usually caused by a loose or corroded connection, a weak remote battery, or radio interference, not a failing motor or board. In Union City’s damp climate, corrosion at terminals and splices is the most common culprit. Inspect all accessible connections for green or white buildup and clean them before spending money on components.
Yes, if the problem is a dead remote battery, dirty photo eyes, a tripped breaker, or a track in need of cleaning. No, if the problem involves high-tension springs, a control board replacement, a motor swap, or any repair where the gate’s safety features could be compromised. We handle all the complex work at Gate Repair Union City home.
Gate operators in Union City typically last 8 to 15 years depending on brand, usage cycles, and exposure to marine air. Coastal moisture shortens lifespan compared to inland installations. Regular hinge lubrication, track cleaning, and annual inspection of electrical connections extend operator life more than any other maintenance.
We work on LiftMaster, FAAC, BFT, Linear, and all other major gate and operator brands. If you own a Mighty Mule, Ghost Controls, Viking, DoorKing, or Elite system, we service those too. Our technicians are trained on nine specific brands, so the diagnosis and repair are based on the engineering of your system, not guesswork.
Call (833) 593-6430 and we’ll give you a straight answer about our current availability in Union City. Emergency gate failures are our specialty – a gate stuck open is a security problem, and a gate stuck closed is an access problem. We’ll schedule you as quickly as possible, and the estimate is always free.
The Bottom Line
Gate troubleshooting succeeds when you work in the right order: power first, then mechanical, then programming. Most gate failures in Union City are boring problems – a corroded wire, a dead battery, a misaligned photo eye, a worn hinge – not catastrophic board or motor failures. The part you’re about to replace is probably fine. Test the cheap stuff first, keep a few sensible spares on hand, and know your limit. When the problem is beyond what you’re comfortable addressing, check our How to Hire a Gate Repair Contractor in Union City: A Step-by-Step Guide or call a technician who works on gates exclusively. It saves you the cost of the wrong part and the time you’d spend installing it.
Written by the team at Gate Repair Union City, serving Union City since 2018. Explore more guides & resources.